The Quad Cities, East St. Louis, and Western Railway, a fictitious model railroad
DCC
Digital Command Control (DCC) is the “new” way to control locomotives. It allows independent control of engines on a layout, even if the layout is all wired together. Using DCC can simplify wiring of the layout, and provider greater flexibility and control when it comes to running trains, but it does come with a couple of downsides:
Cost
Locomotive modifications (sometimes including wiring, soldering, and milling of the chassis)
This page isn’t really meant to educate folks on DCC; there’s lots of other places to learn about that. It is, however, meant to act as a place for me to try and keep track of the DCC decoders that can be used in each type of locomotive, and document where I can find more information and instructions on each one. Additionally, I’m going to toss up some CV values, so that I can keep track of them somewhere, and at least try to keep things consistent.
Decoder Common CV Settings
Using the below as a starting point. Subject to change as I fine-tune things. You have to start somewhere, right?
I originally had Acceleration and Deceleration as 16 each, however for running at train shows, that’s just way too much. You need to be able to start and stop much quicker.
Switchers
At some point, I’d like to turn the Acceleration and Deceleration back up, as well as significantly reduce the top speed, especially for switchers, but I suspect it’ll be a while before that happens.
Description
CV
Setting
Acceleration
3
16
Deceleration
4
16
Start Volts
2
2
Mid Volts
6
48
Max Volts
5
98
Road Power
ESU LokSound Settings
To change individual sound volumes (any CV above 255), you must set CV 32 to 1, then adjust the volumes.
Description
CV
Setting
ESU/Atlas Factory Default
Acceleration
3
6
20
Deceleration
4
6
20
Start Volts
2
2
3
Mid Volts
6
92
88
Max Volts
5
176
255
Master Volume
63
36
128
Prime Mover
16.1.259 on GE B23-7/B30-7, ALCO RS-3
96
192
Digitrax Settings
Description
CV
Setting
Default
Acceleration
3
6
0
Deceleration
4
6
0
Start Volts
2
2
0
Mid Volts
6
92
0
Max Volts
5
176
0
Broadway Limited Settings
For the NP F7 A-B-B-A set, there are settings you can adjust for both volume as well as standard direction of running. For the purposes of normal running, NP 6512A will always be the lead locomotive. The settings below reflect that.
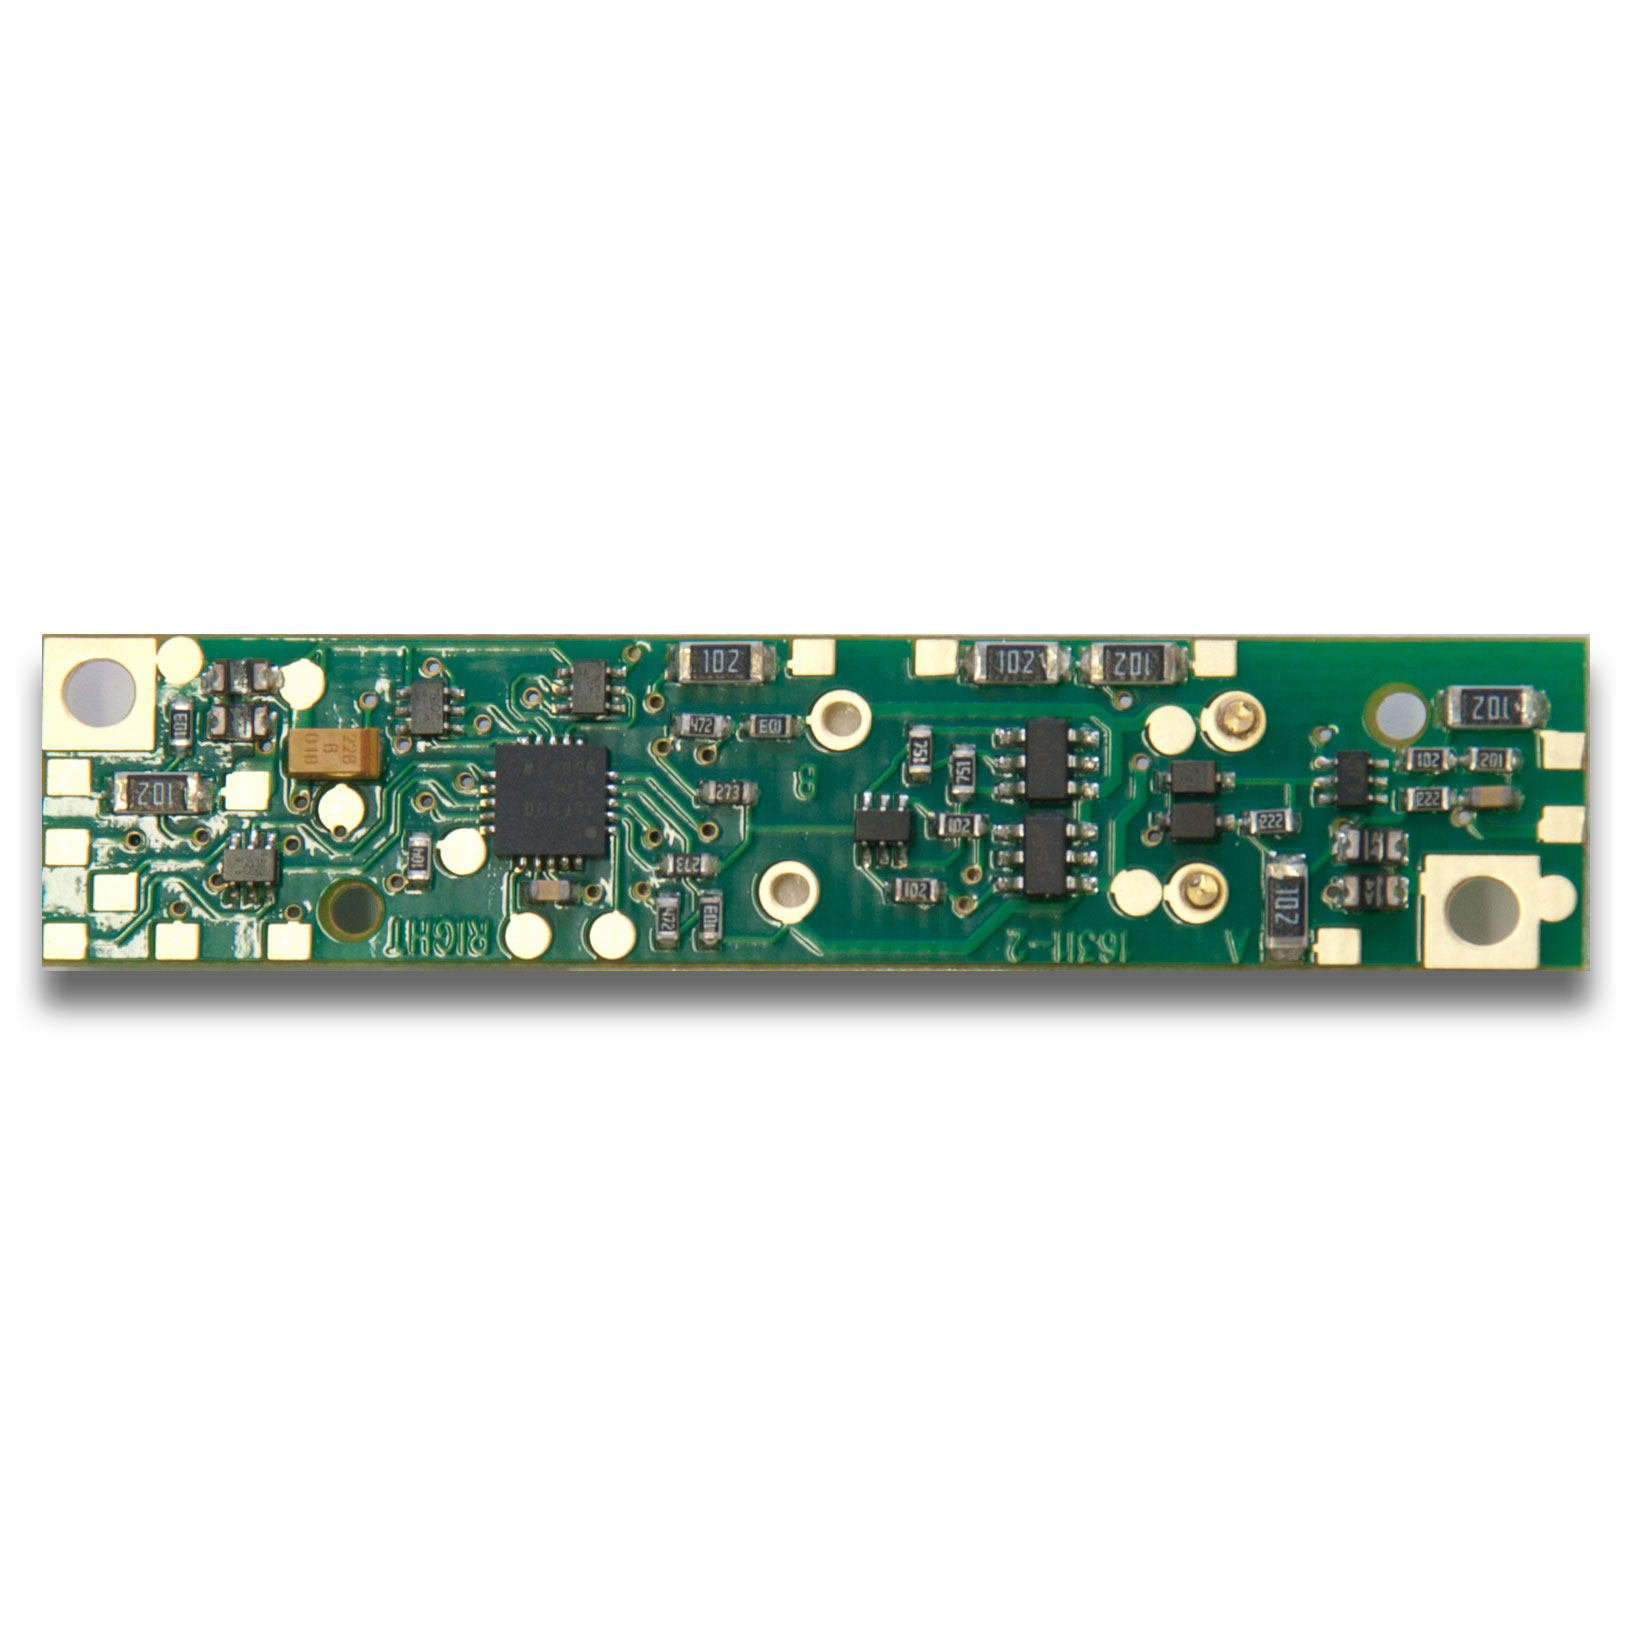
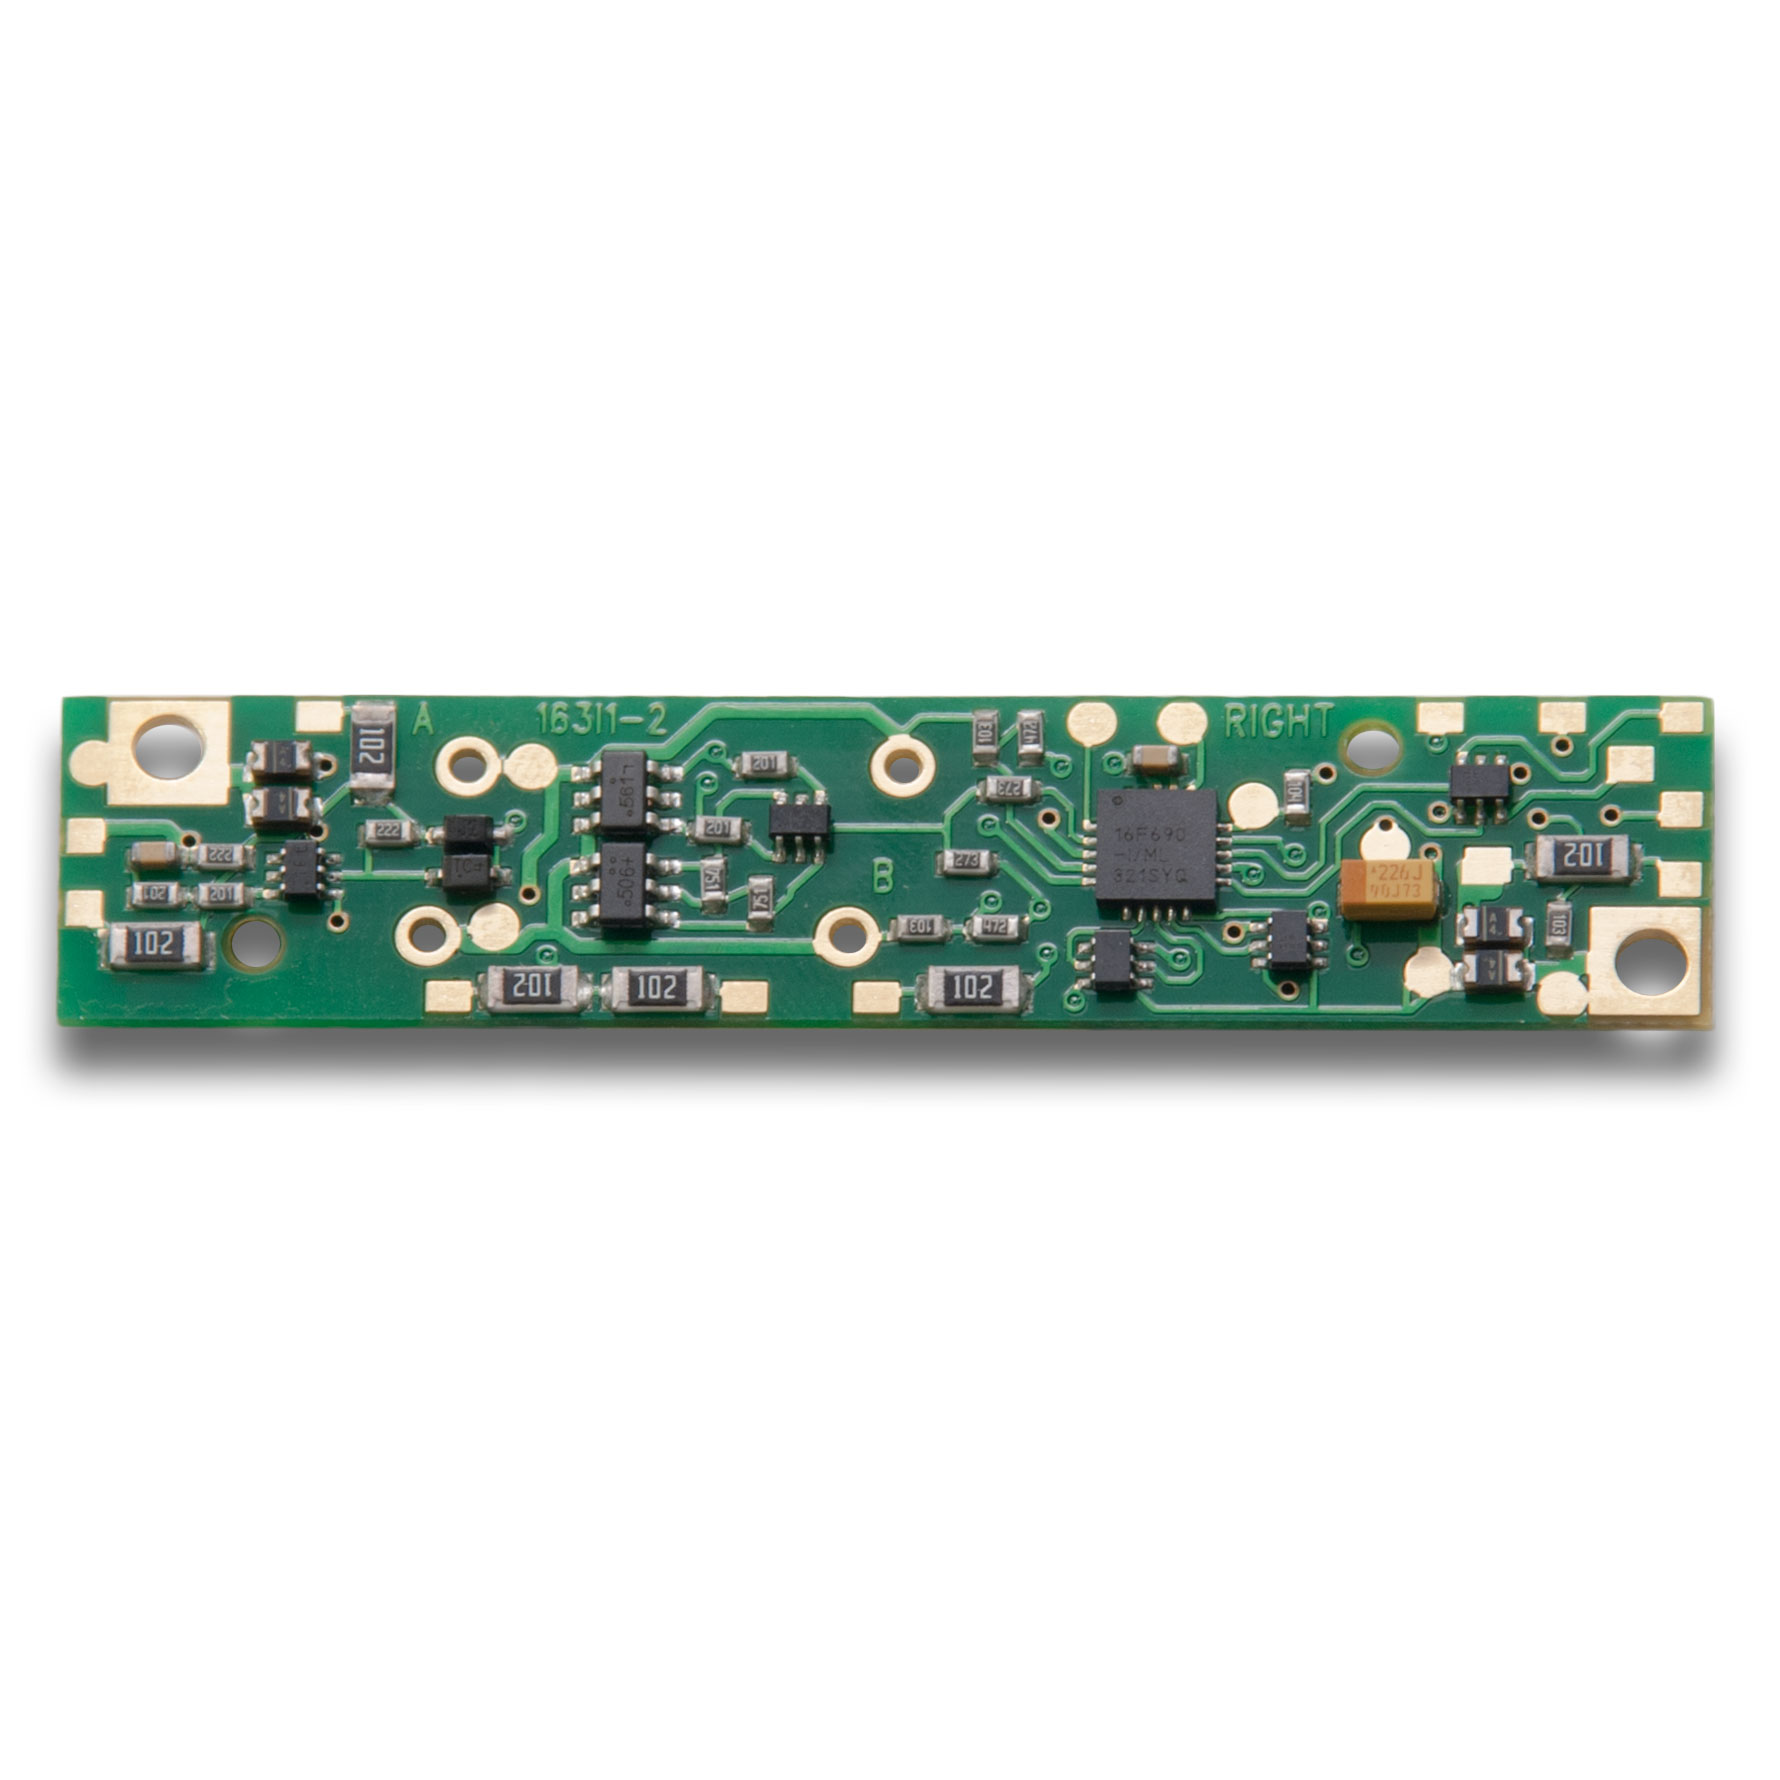
There a few different models of RS locomotives produced by Atlas. The earliest models, most easily identified by an “enclosed” motor chassis, require some very minor milling of the frame, and then wiring up a TCS CN-GP decoder. The later ones, with an “open” motor, can use the TCS CN decoder without any real frame modifications.
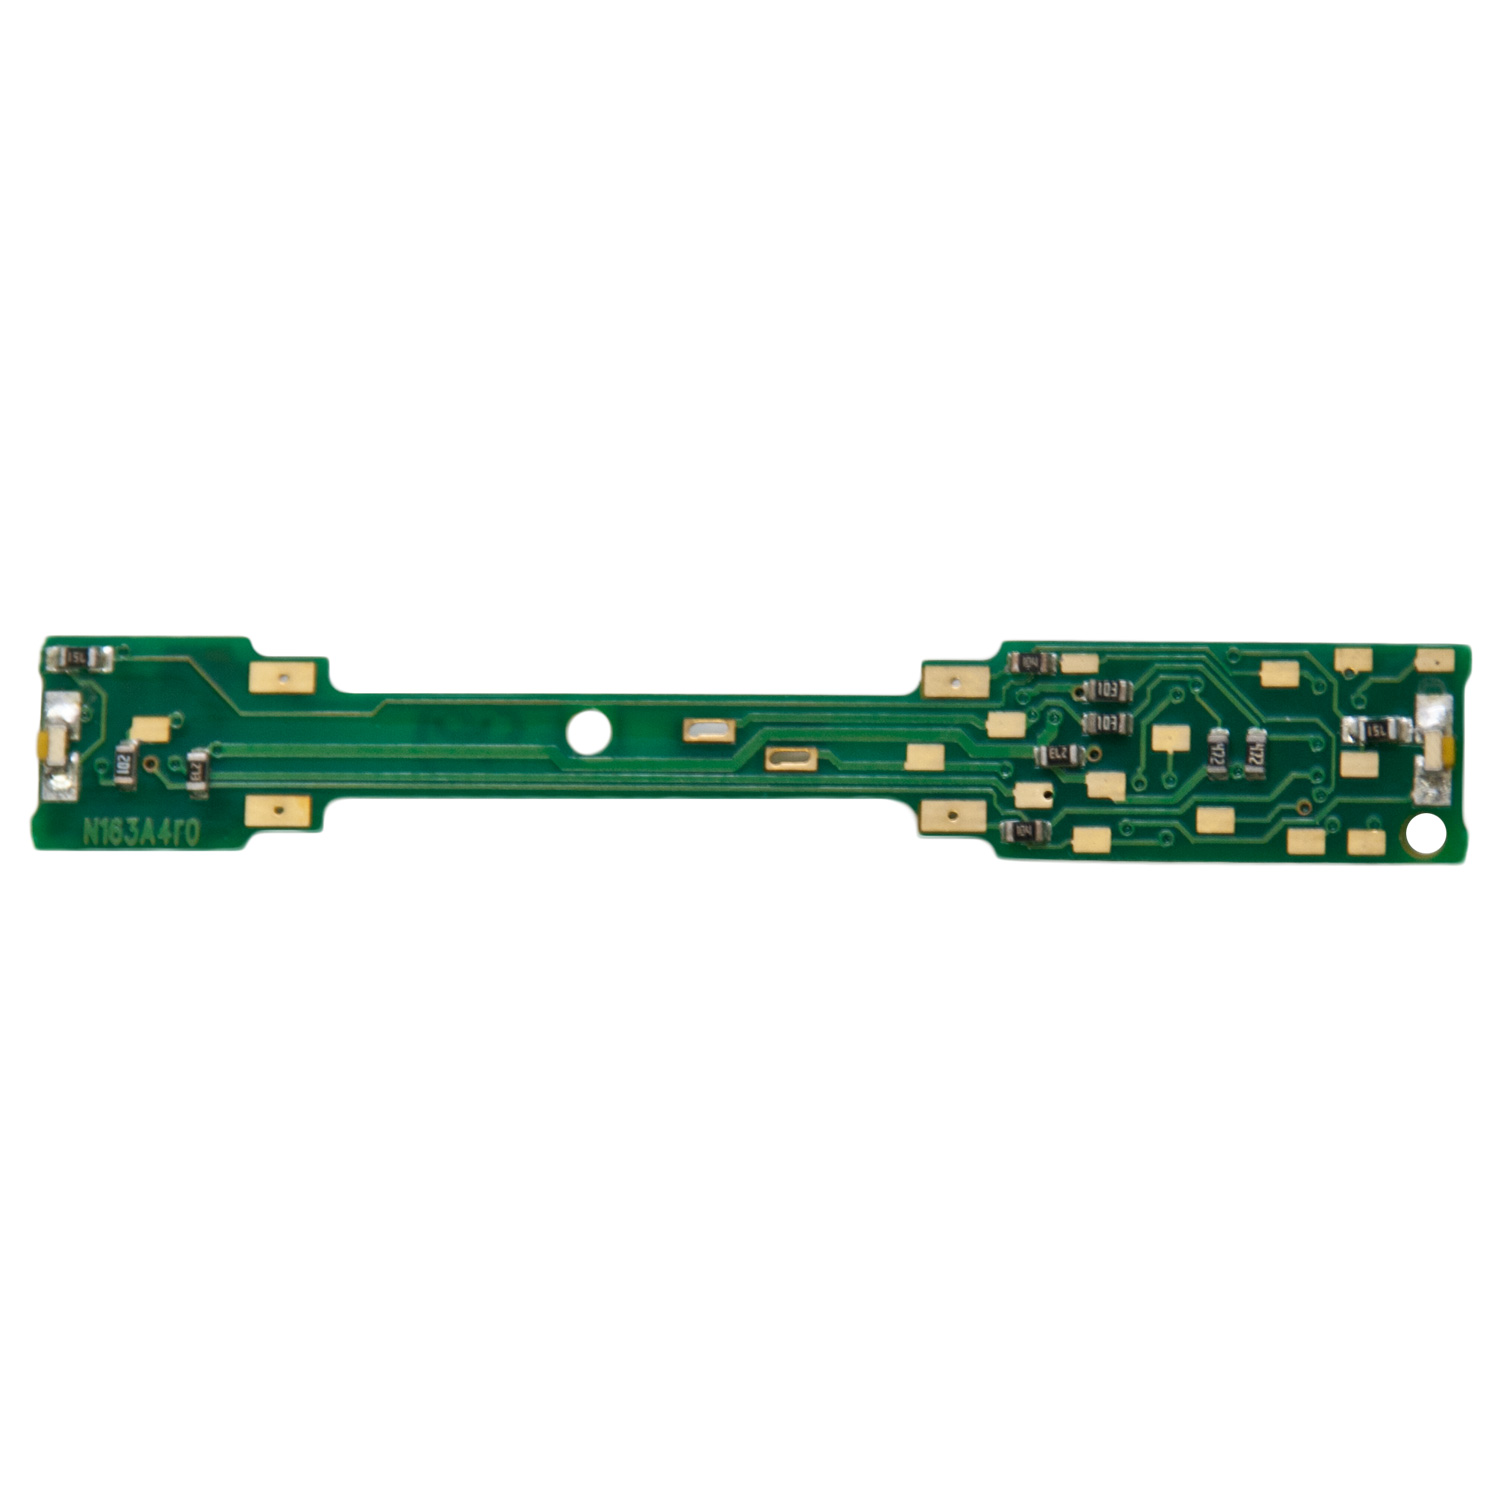
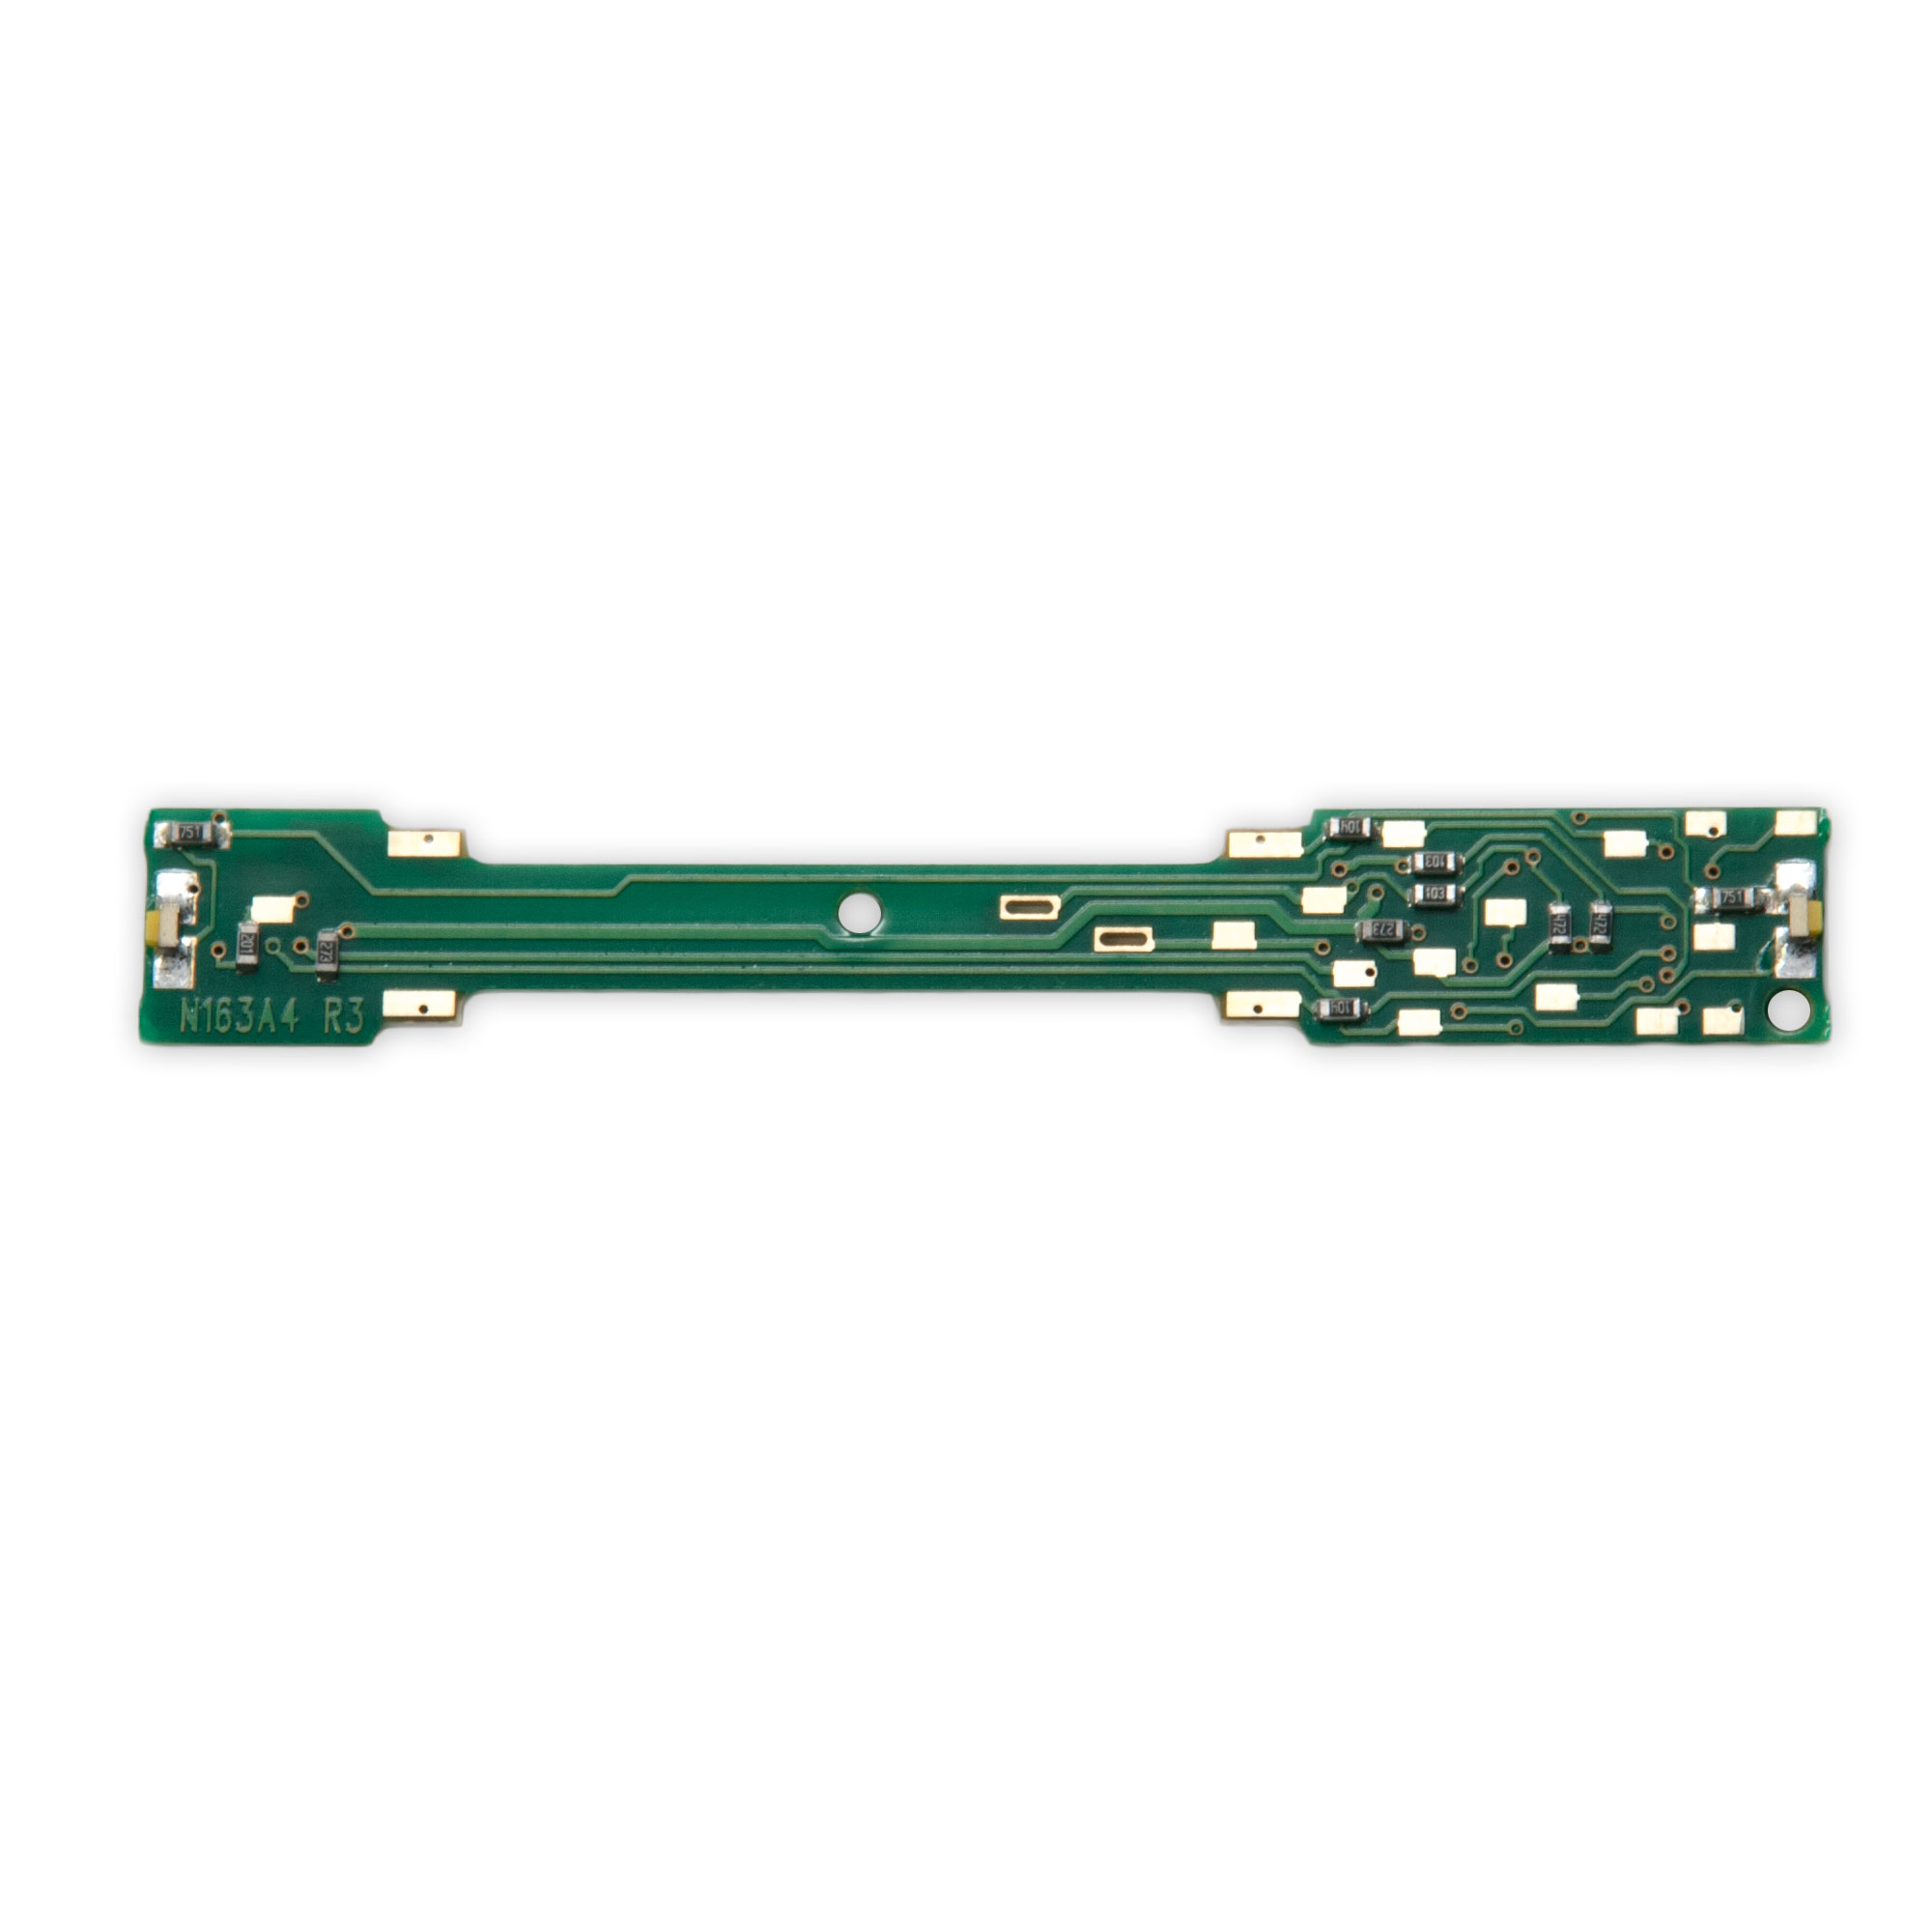
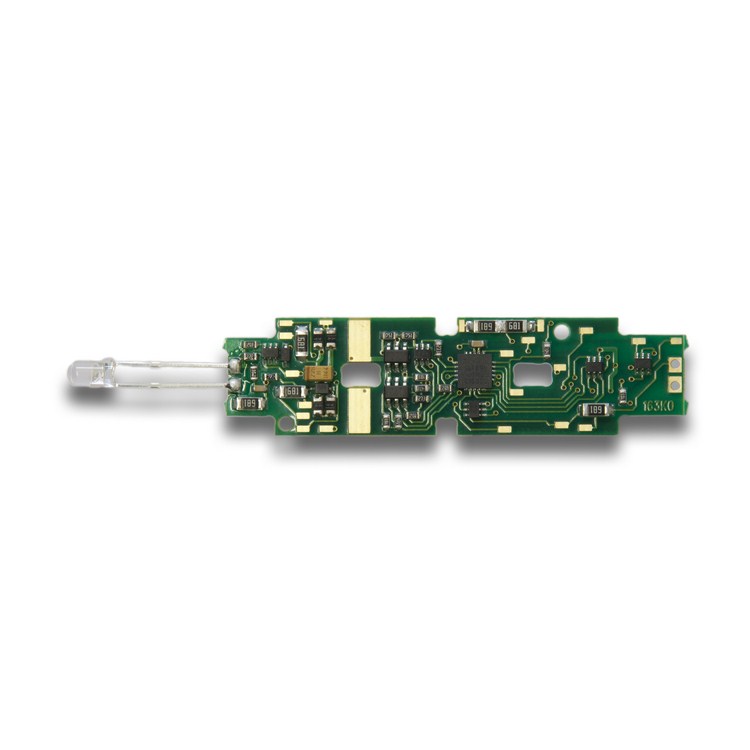
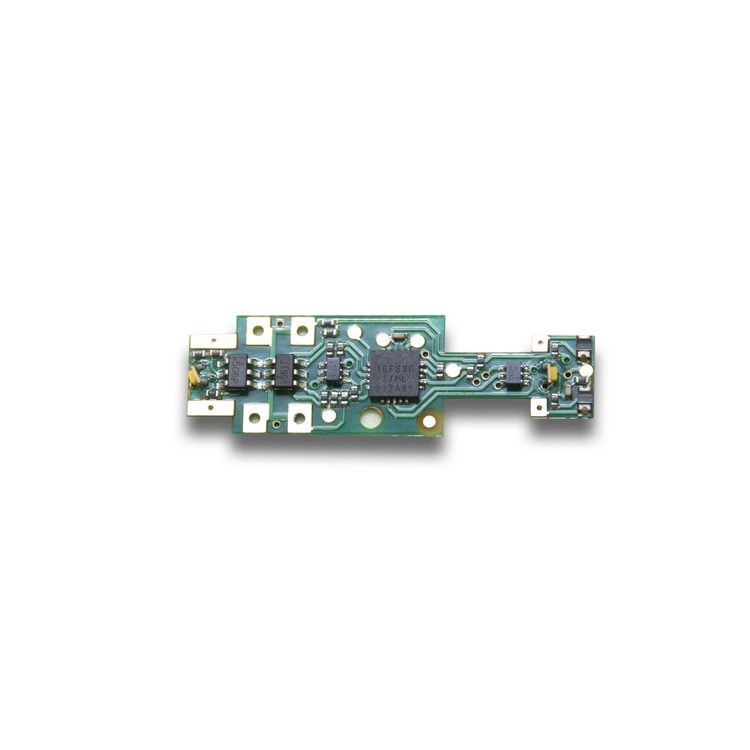
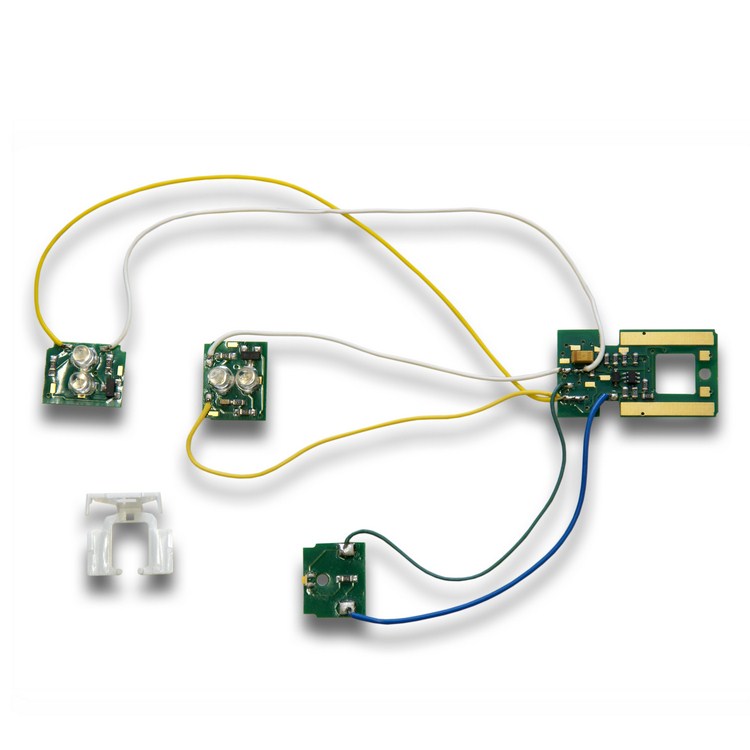
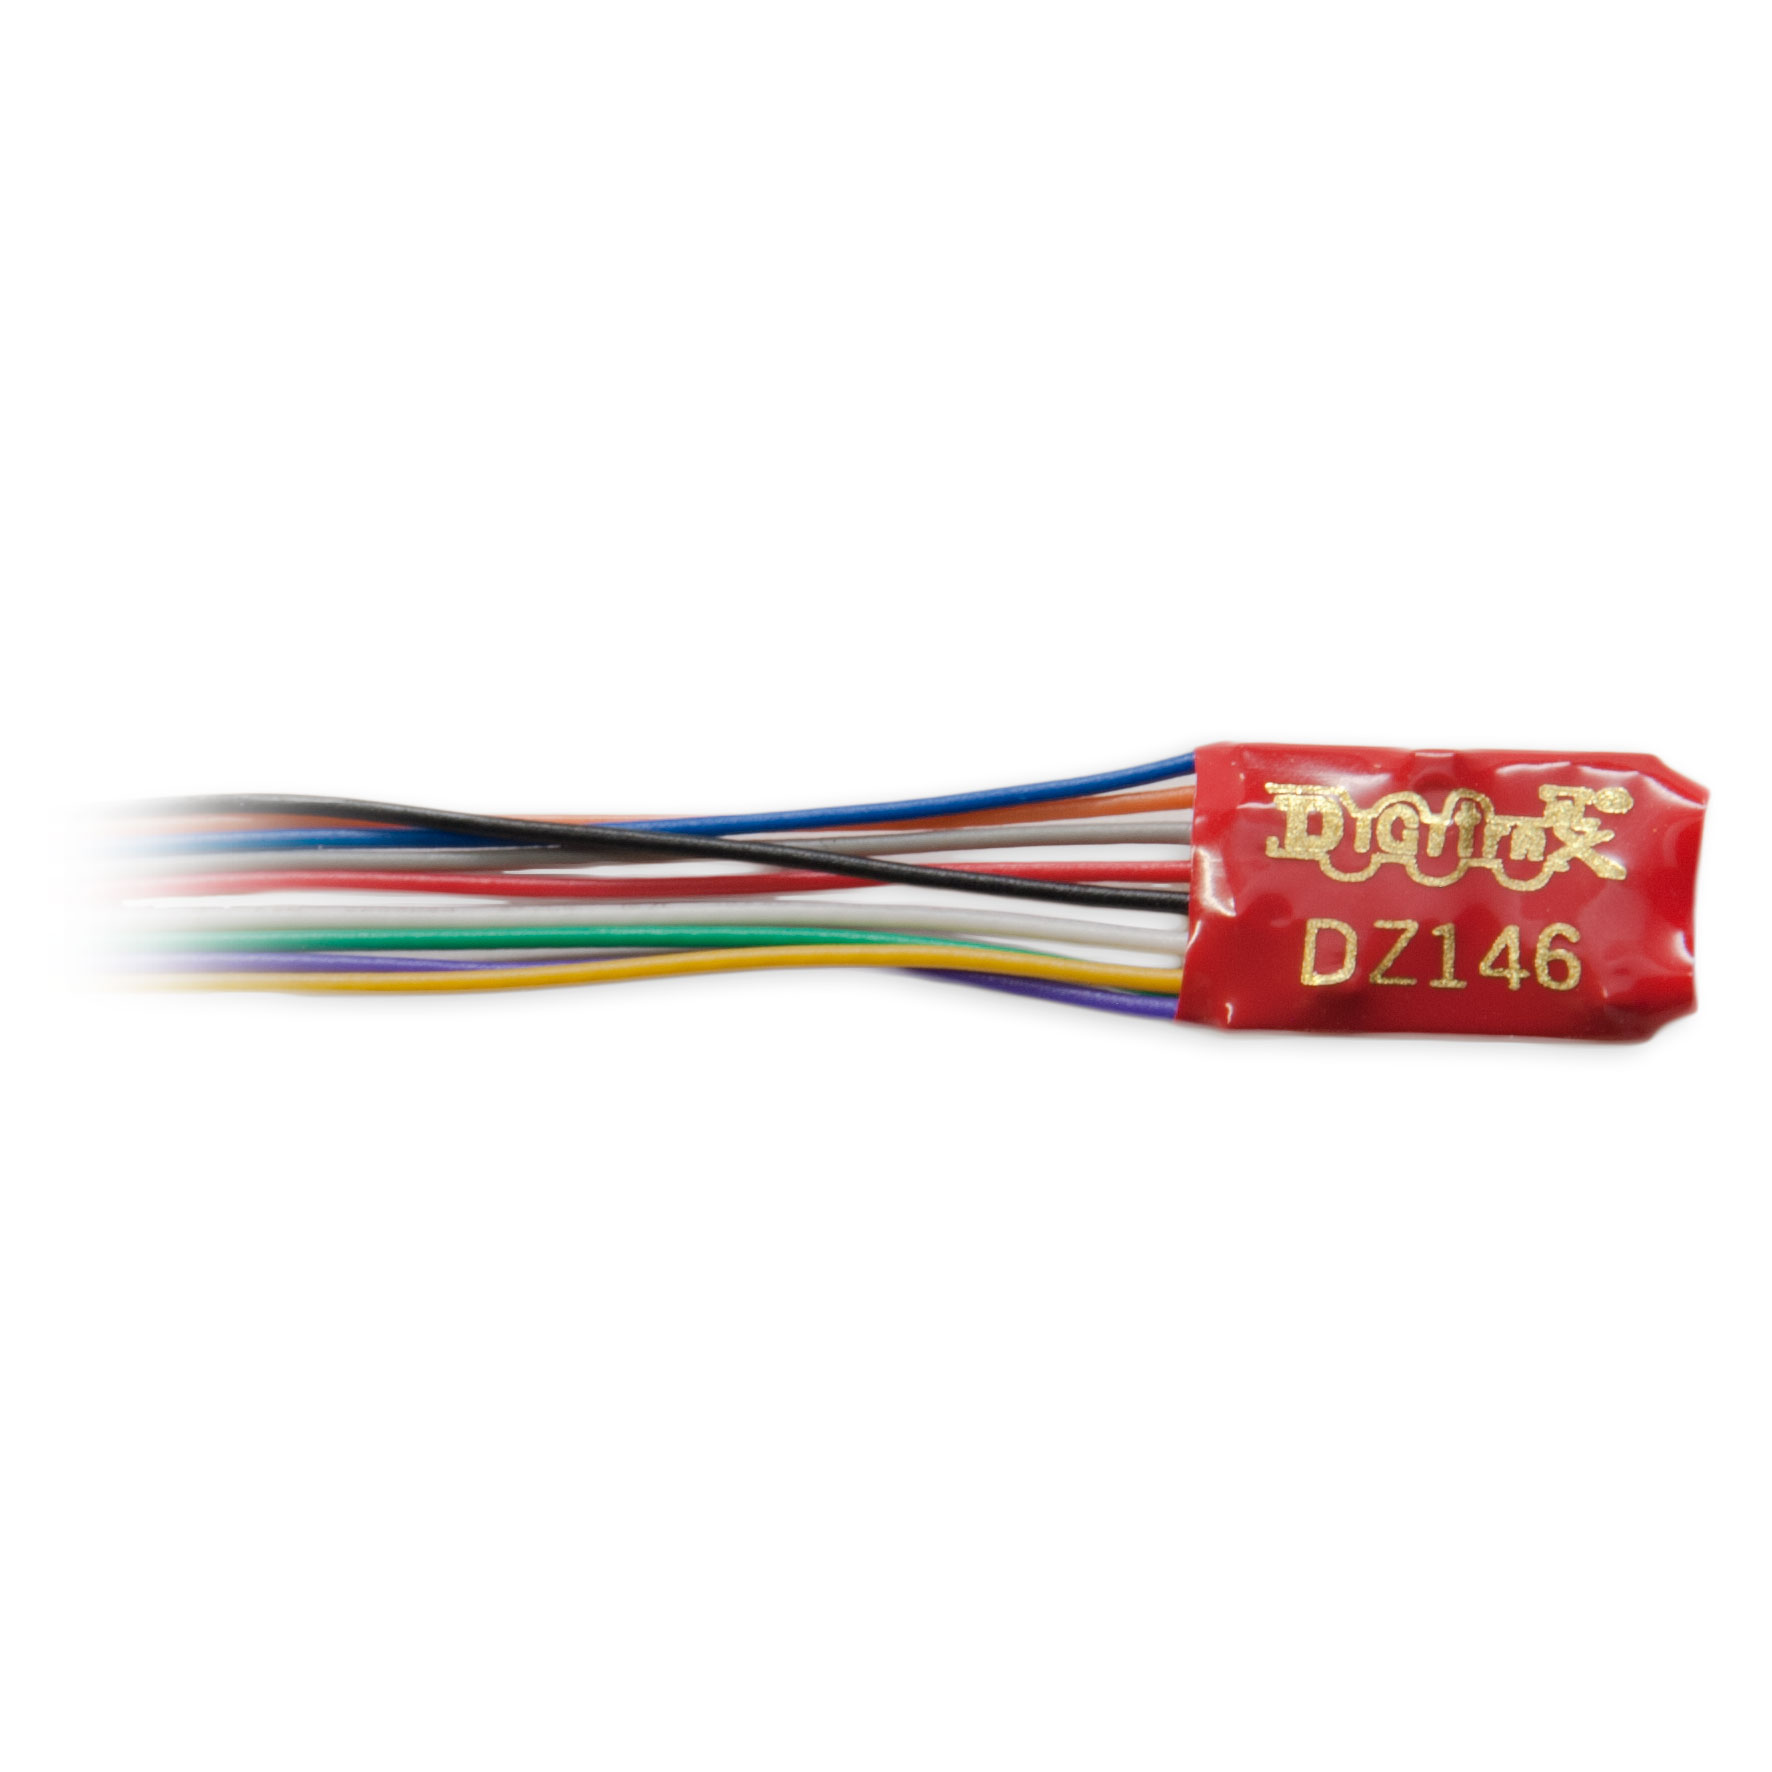
Sadly, I have some older Kato F7’s that do not have the DCC-ready chassis. These will require some modifications to allow for a wire-in decoder (like a Digitrax DZ146):
A lot of older engines are going to fall into this category. Some will require milling (filling/cutting) of the metal interior motor frame/chassis in order to make space for the decoder, as well as space for the wiring to reach the motor and lights.
Life-Like FA1 GN #276A – https://www.youtube.com/watch?v=5F-_u0XWzTM – Great video detailing disassembly, cleaning, and even details on how to mill the frame to install a decoder at the end
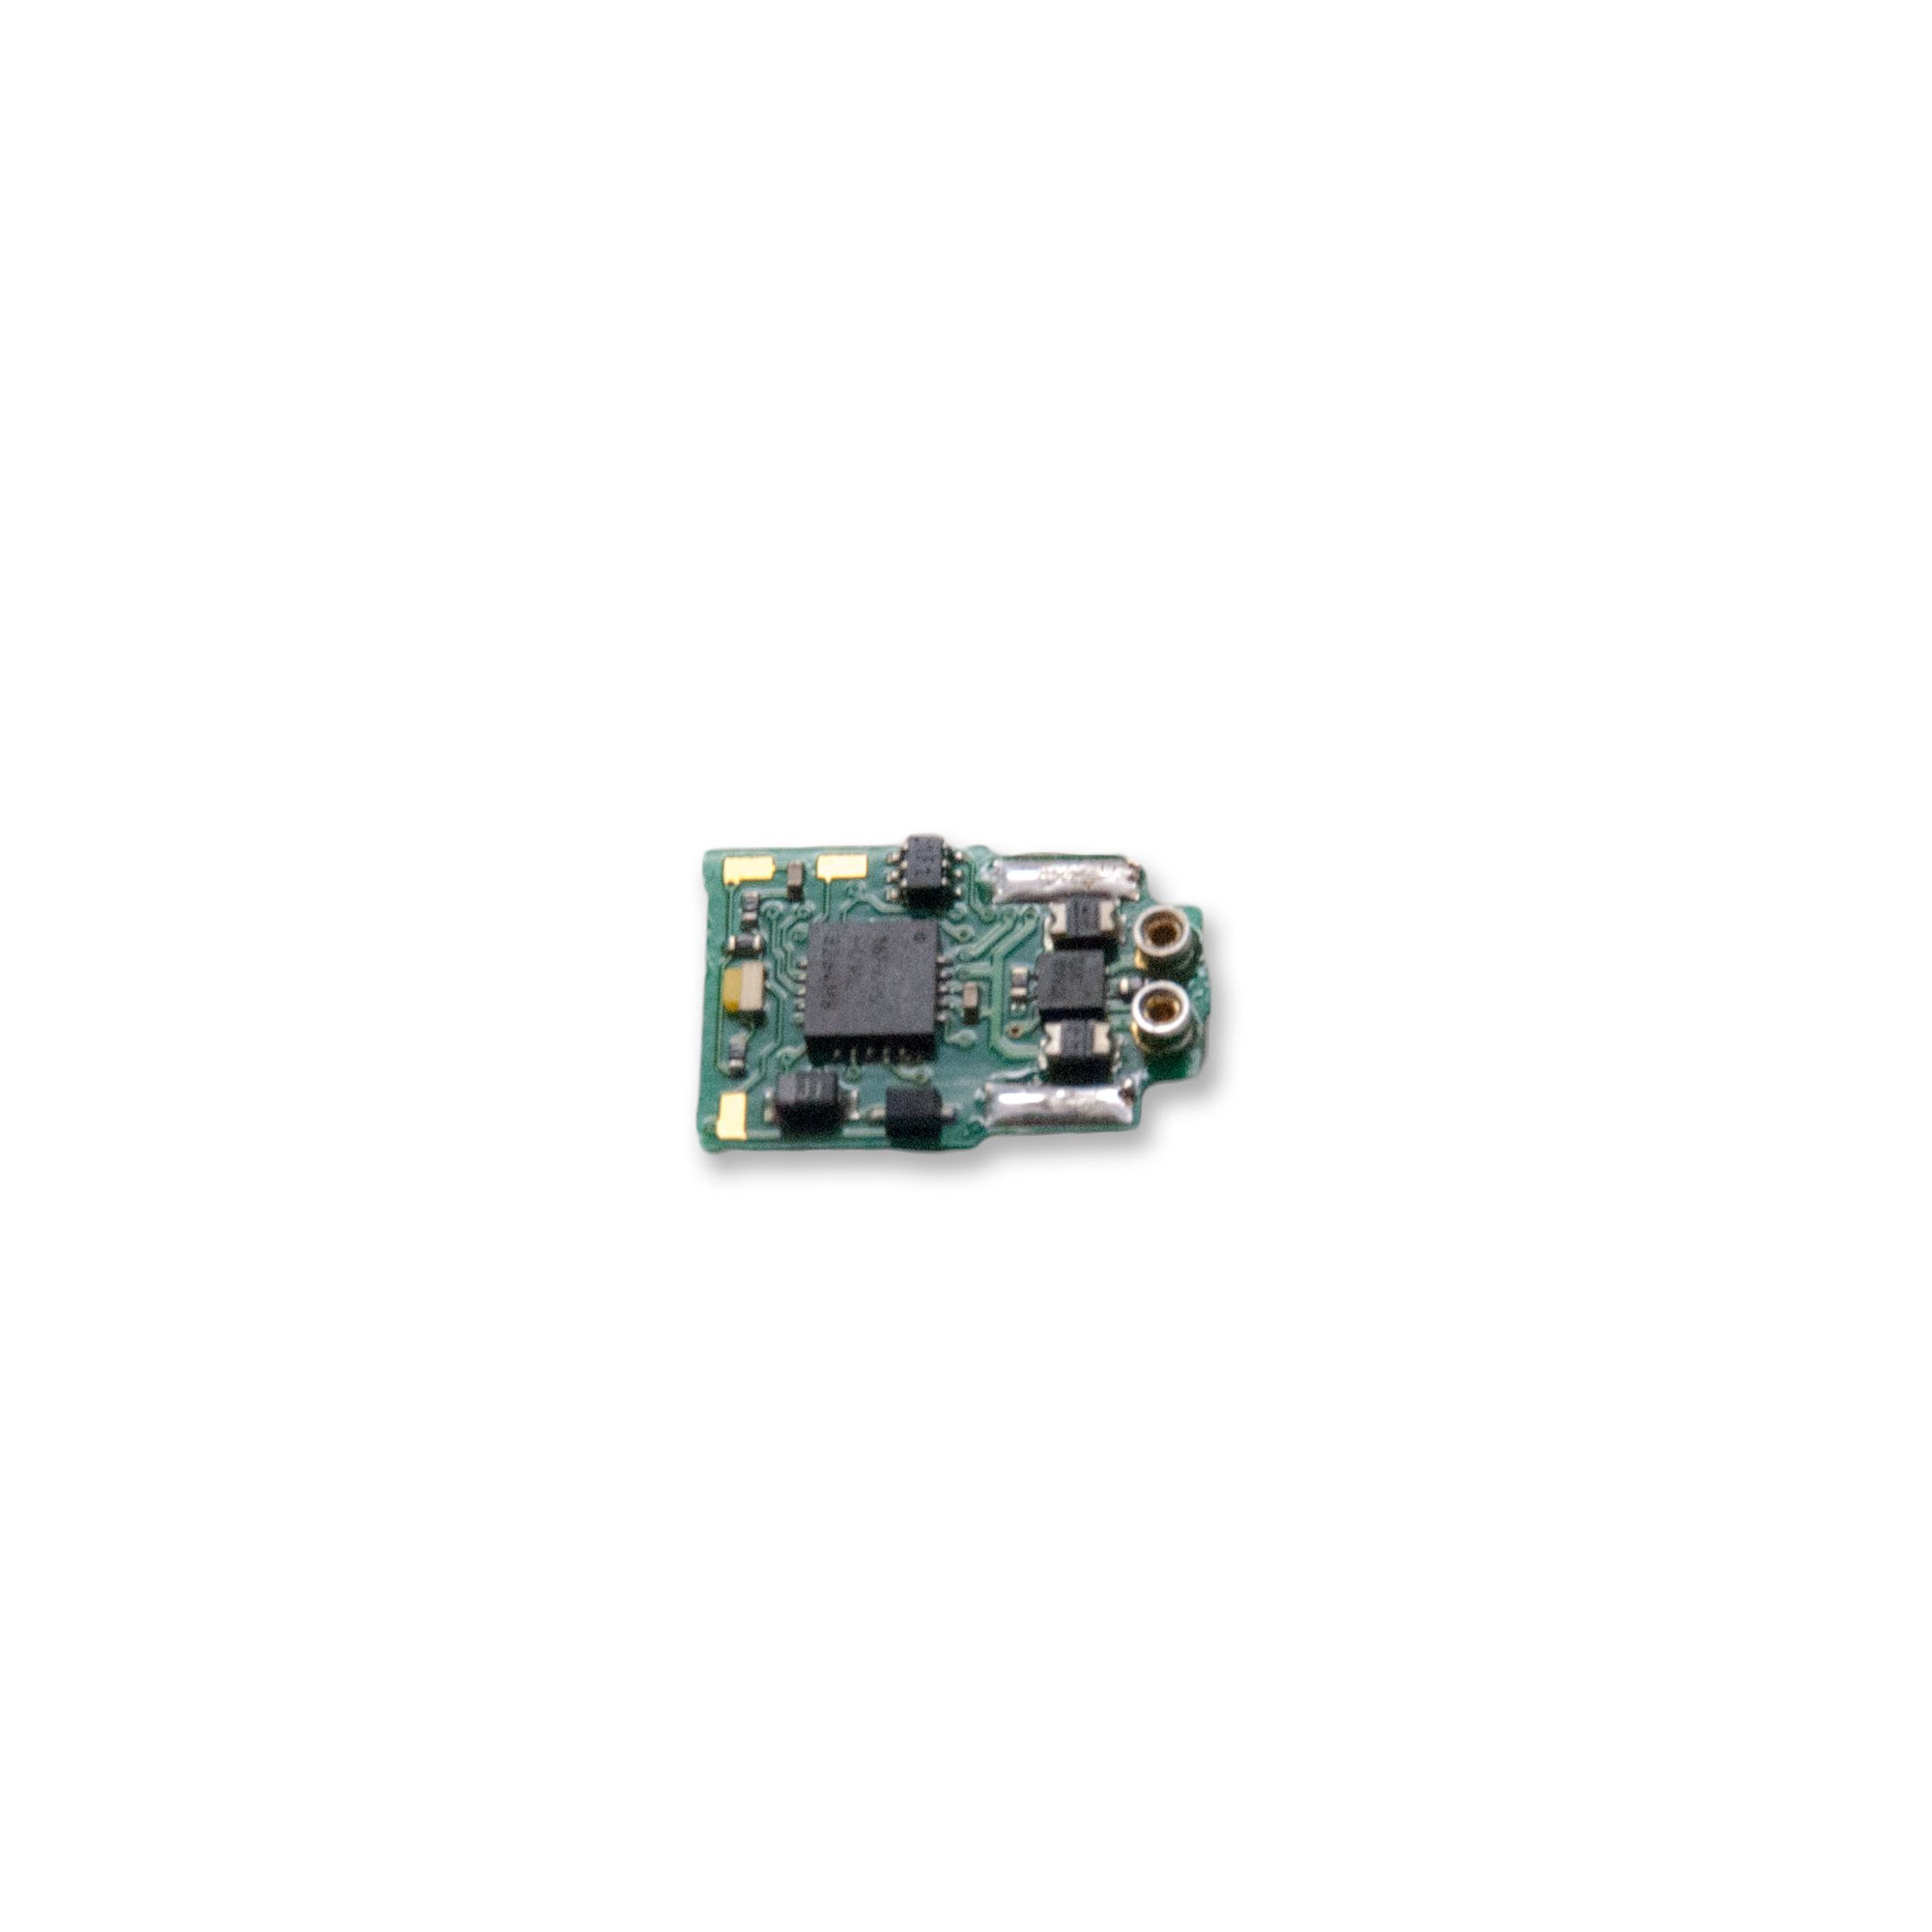
Model Power FP-7 NP # 6700 – After pulling it apart, I’m almost thinking that the Digitrax DN126M2 or TCS MT1500 might be a viable option. With the built-in LED for the headlight as well as the small overall size, I think it’ll fit nicely in front of the motor, under where the cab would reside. May want to cover the top of the decoder with something to hide the electronics.