Yes, once again, first post in a long time. Sorry folks, I’ve been busy!
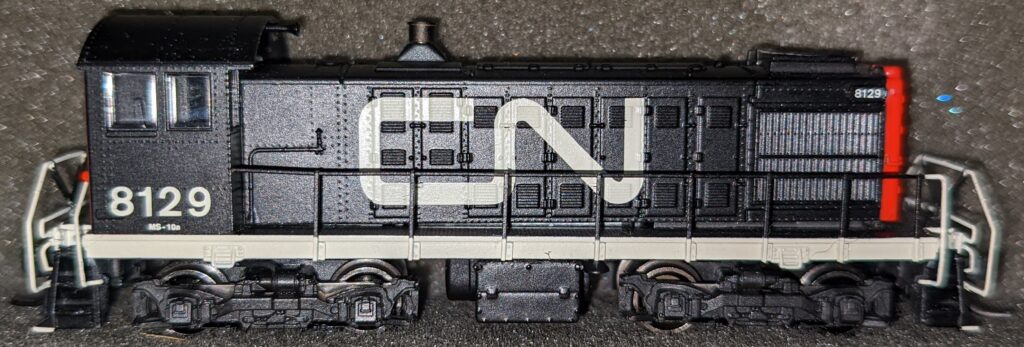
I had picked up an Atlas S-2 switcher back in March of 2022 from Neal of Neal’s N-Gauging Trains. It was DC off the shelf, but was DCC-ready, supporting a standard 6-pin decoder. Neal didn’t have any of the decoders handy at the time, but he said I could stop by his shop and get one anytime. It’s been sitting here on my desk waiting patiently for the decoder, and I finally managed to get around to visiting with Neal again and grabbed myself the SoundTraxx MC1Z102P6. This is a standard 6-pin DCC decoder with no sound.
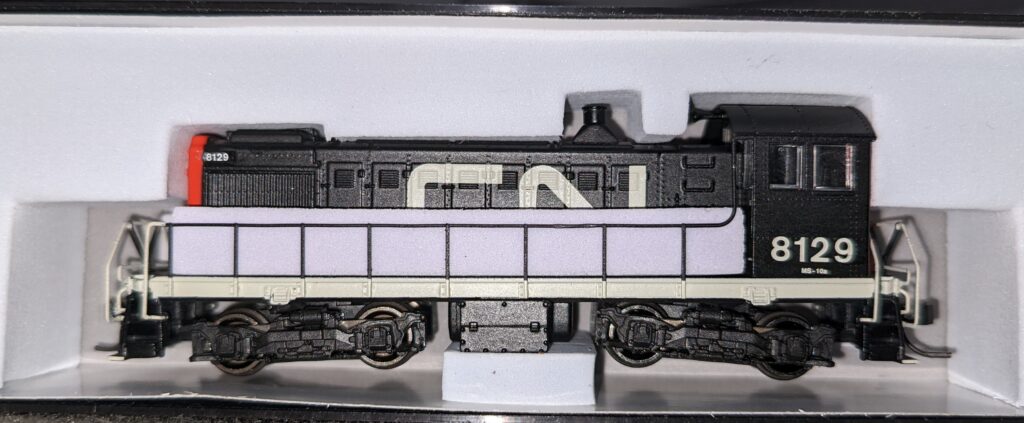
Thanks to a handy YouTube video by Hobby Adventures, I was able to figure out how to access the internals without breaking anything. I’ll try and briefly cover those steps here.
The first step is to locate the 2 tiny screws under the front trucks. Those secure the long hood to the frame. Remove them carefully with your smallest Phillips head screwdriver (I used a PH000 I think), and put them somewhere safe.
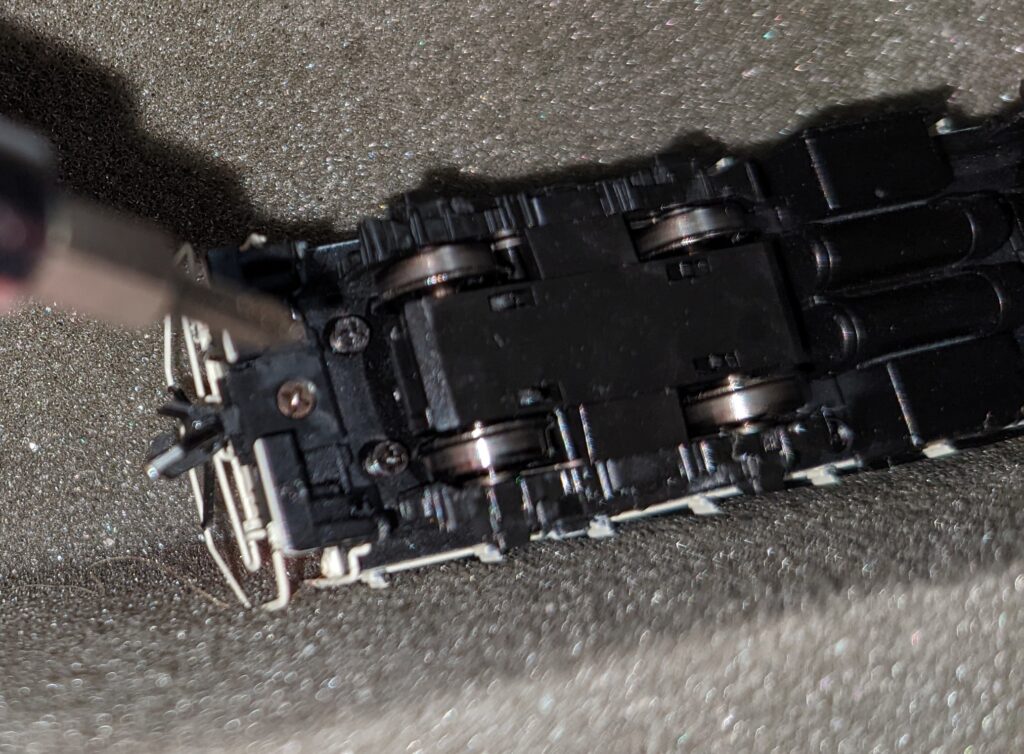
Next, make sure the handrails are loosened from the cab, as you don’t want to break them off, and then try to remove the cab. Note that for me, the cab and the hood all came off at once, but they are separate pieces (I was able to separate them once they were off). The cab has two clips (one on each side, where the road number is) holding it to the built-in speaker enclosure. It took a considerable amount of wiggling and extremely careful prying to get it off. You do want to try and get both sides free before lifting off, so that you don’t break or bend anything out of shape.
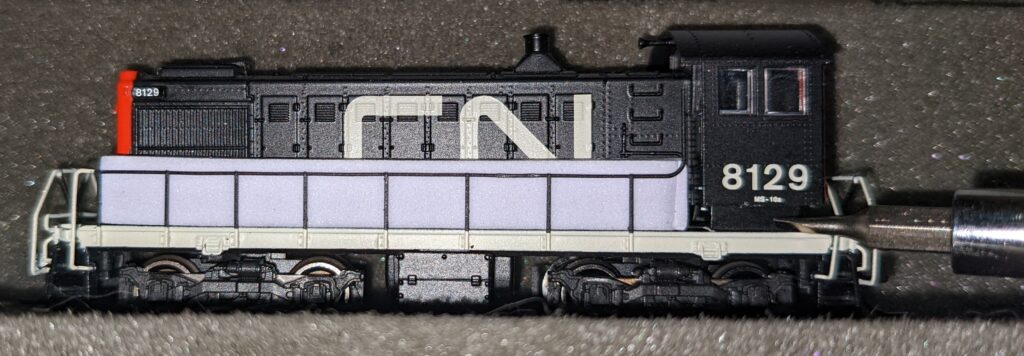
Once free, lift the cab (and the long hood, if it came with it) off, and set it out of the way somewhere safe. You won’t need them for a while. Under the cab, you should find the built-in speaker enclosure.

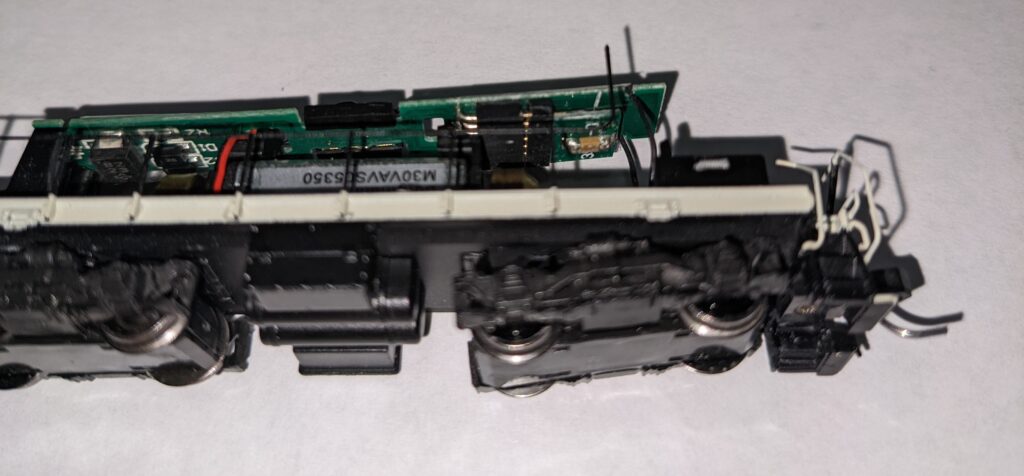
The next step is to remove the built-in speaker enclosure (it lifts straight up; there are two friction-fit posts that hold it in place), and then investigate the positioning of the existing 6-pin DC (not DCC) chip. This is what you will be removing, and where you will be inserting the 6-pin DCC chip. In this picture, the cab and speaker enclosure (that would be on the right) have been removed, giving you access to the 6-pin chip slot.
Using a pair of tweezers, I was able to slowly work the 6-pin DC chip straight out. It’s just a press-fit, but some persistent tugging with the tweezers is all it took to work it out. You want to make sure you’re pulling it straight out the cab-end, and not bending any of the pins.
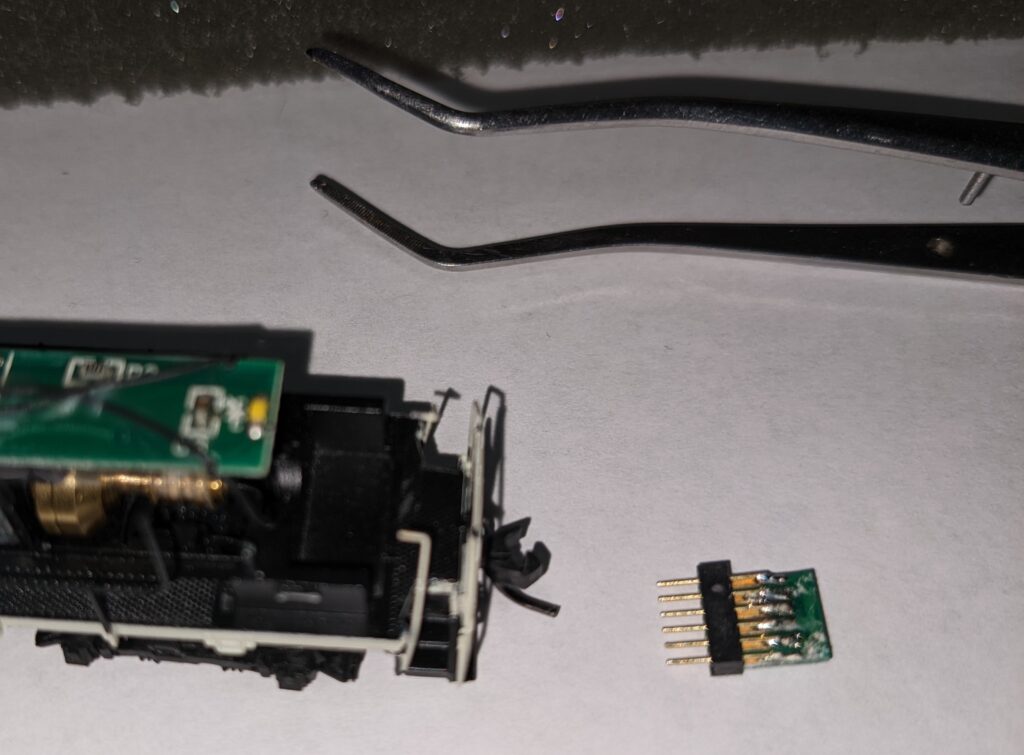
It’s a bit hard to tell, but there actually is a “right way” and a “wrong way” to insert the new 6-pin DCC decoder. If you look at the above picture, you’ll see that the pins are mounted to the “top” of the board, which then hangs below. The SoundTraxx MC1Z102P6 is built the exact same way. I was able to use the tweezers to gently work it in, the same way I pulled the factory one out.
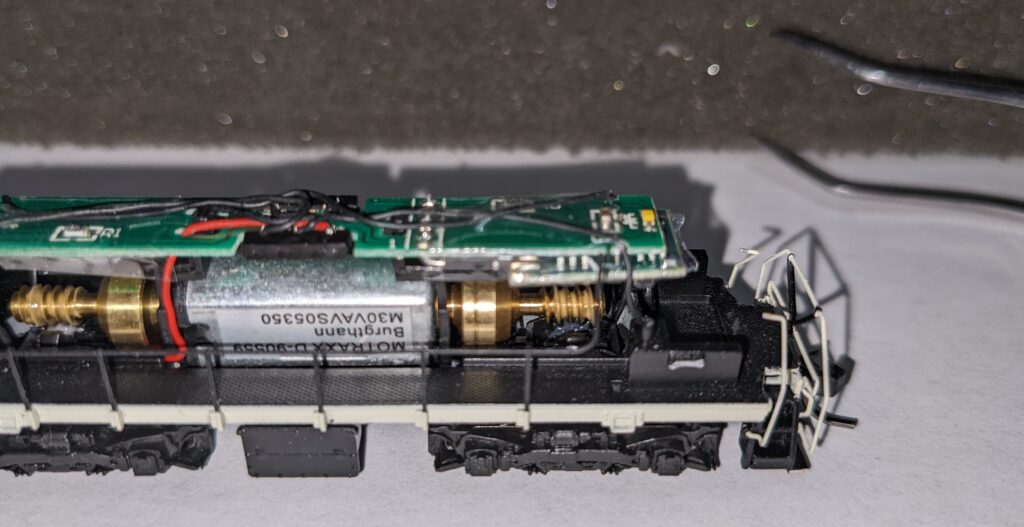
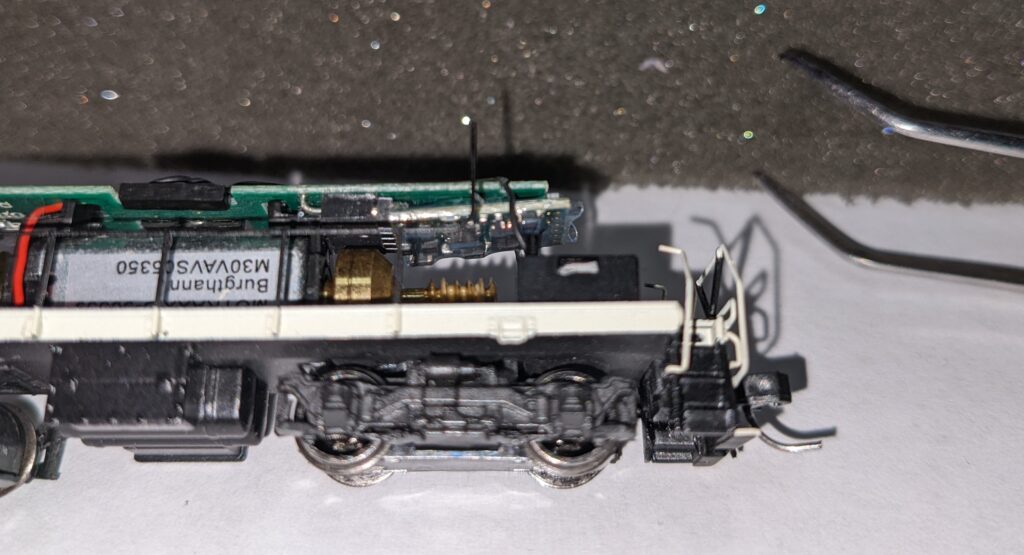
With the decoder plugged in, I took the S-2 over to my programming track and fired up JMRI DecoderPro. I read in all the settings, adjusted the locomotive to respond on its road number, and tweaked the speed table so that its maximum speed was much slower. Sadly, the SoundTraxx MC1Z102P6 doesn’t seem to support CV 5 (max volts) and CV 6 (mid volts), so I had to actually configure the full speed table, but JMRI makes that pretty easy.
With that done, it was back to the work bench. Here is where things got a bit tricky. You can’t see it from the pictures, but as it turns out, the SoundTraxx MC1Z102P6 is a VERY snug fit, and I’m probably just better off saying that it’s slightly too wide for the Atlas S-2 long hood. Maybe it was just the one I received, maybe it’s all of them, I don’t know. The YouTube video I linked above used Digitrax‘s equivalent, the DZ126IN 6-pin decoder. Maybe it’s smaller? I really don’t know, as I don’t have one to test with (but I do plan on getting more of these switchers eventually, so maybe we’ll see).
I actually spent a lot of time trying to carefully pry the long hood open just a little more so that it would fit over it a little easier (although I’m not sure I really made a huge difference). I slowly worked the long hood carefully down over the board and decoder until the long hood was in place. I put the built-in speaker enclosure in place afterwards, so that I could ensure the board wasn’t horribly bent out of shape. It did have a slight twist to it, but seems to be working okay, so not overly concerned. Do take a moment to make sure it’s not bent down and contacting the mechanism below.
With the long hood and built-in speaker enclosure in place, the next step was replacing the cab (and making sure I didn’t break any handrails in the process). The final step was replacing the two screws that hold the long hood to the frame.
All said and done, my first 6-pin decoder adventure went pretty well. I am looking forward to future “easy installs” like this one. Maybe the next one I get will be pre-installed with DCC and sound (the Atlas “gold” series models), and I won’t have to do any work at all!
